Attention all: I finally sewed with knits! Now that I sewed together a little shirt, I have no idea what scared me. So, here is what I made to go along with my niece's hobby horse (I posted about it here)...
I made her a little cowgirl shirt. I was inspired by Homemade by Jill's recent post of a similar shirt she made for a gift. I used Little Blue Boo's Sienna Dress pattern - and it was much simpler than I thought. I attached a little sheriffs star to make it a little more fun.
Unfortunately, 2 year-olds sometimes find horses that have a larger head than they do scary. They don't always get as excited about the gift as the person who made it. Then, they may not be interested in the outfit. There may be screaming. And, I guess you really can't talk a 2 year-old into liking something.
I linked up to: Tatertots and Jello, I Heart Nap Time, Blissful and Domestic, Tip Junkie
Pin It
I am not one who loves a lot of color. I grew up in a house where all of the walls in the whole house remained white until I was in high school - when I got up the nerve to paint one of my walls a light blue. ha.
Last month, a friend visited and commented on how she doesn't think there could be a more boring bathroom. Since then, we have moved to a new apartment where we have not one but two bathrooms! I knew I needed to get a shower curtain and a little decor for in there. I ventured out and chose an unexpected color combination of a burnt red-orange and an antique purple-gray.
I searched far and wide for a shower curtain that would compliment the colors I chose, and I settled on the idea of having an elegant white shower curtain with some sort of texture or white design in it.
But, $30 for something that is plain white? No way! I decided to make my own. With a few supplies I was able to make a fabric shower curtain that matched my colors perfectly. I used this post as a starting point for the construction, but took a different direction and did my own thing.
First, I matched my towels to paint swatches that I can carry with me anywhere - which was helpful when going to the fabric store. Next, I bought a coordinating print in each towel color from a fabric store (for my design I needed less than a 1/4 yard of each of the two colors) and a plain white flat sheet ($9 for a full size at Wal-Mart).
Next, I got the bed sheet ready. I wanted the top cuff of the bed sheet to be at the top of the shower curtain (if you look store bought shower curtains, they almost all have a cuff at the top). With the cuff at the top, the shower curtain is too wide, so I cut off enough inches to make it 70" W plus an additional 1" seam allowance.
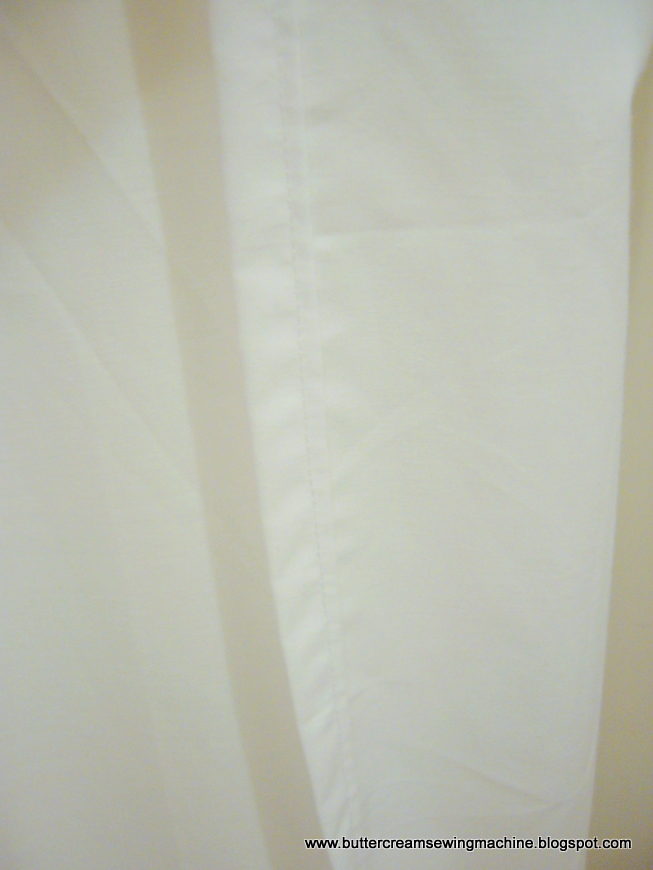
I then hemmed the side, by folding over 1/2" of an inch and ironing. Then, I folding it over another 1/2" of an inch. Finally, I sewed down the side of the curtain using coordinating thread. The reason I had such a big seam allowance is because I wanted my sides to match each other (and that's how the other side was finished).
Then, I decided how much fabric I wanted going across the middle of the shower curtain. I chose to have one purple and one orange strip (each with a finished width of 1.5" - totaling 3").
Knowing this, I calculated how much fabric was extra in the length of the curtain. My desired length was 72", 3" of that is purple/orange fabric. So that leaves 69" of white fabric.
I measured 9" down from the top cuff (because that is where I wanted my orange/purple fabrics to be), and I cut across the width of the sheet. Now, you have 2 pieces of white fabric, one connected to the top cuff and one bottom piece. I cut out my excess white fabric from the bottom piece on the unfinished side (so I didn't have to do any more hems).
Before I connected the whole shower curtain together, I sewed buttonholes at the top for my shower rings (so I didn't have a lot of extra fabric to wrestle with). I made 12 buttonholes, each 6" apart and about 5/8" of an inch high. I got these measurements based on my shower curtain liner (I wanted the two to line up).
Next, I sewed on my orange and purple fabrics. I had cut 2 orange strips, each 2" wide by 40", and 2 purple strips, each 2" wide by 40". I connected my strips, and sewed them on to the top cuff of the shower curtain. I then attached the bottom part of the shower curtain to the orange/purple strips. I made sure my edges on the colored strips were hemmed to match the rest of the shower curtain.
And, now I have a perfectly matching shower curtain - for only about $15 and totally personalized for what I wanted!
I hope this inspires you to make something unique! I think it could be fun to use a vintage sheet. Or, you could even simplify this to be one sheet with no extra fabric added to it by just hemming the side and bottom of the sheet and adding some buttonholes. The possibilities are endless!
Let me know what you made!
K
 Pin It
This afternoon, I had so much fun making a hobby horse for my niece's 2nd birthday.
I read about it last month here and followed most of the tutorial. I was excited that it cost less than $8 to make! I got the fabric and yarn at thrift stores (totaling $2.50). I bought the rest of the supplies (ribon, wooden dowel, D-rings) for about $5. I already had the purple polka-dot and white fabrics.
I covered the wooden dowel in the corduroy fabric and used a tight rubberband and hot glue to attach the head to the stick. The funnest part is just getting to make something for someone you love.
I hope this little 2 year-old has fun galloping around with a new friend!
Update: check out the outfit that goes with the horse here!
Pin It